

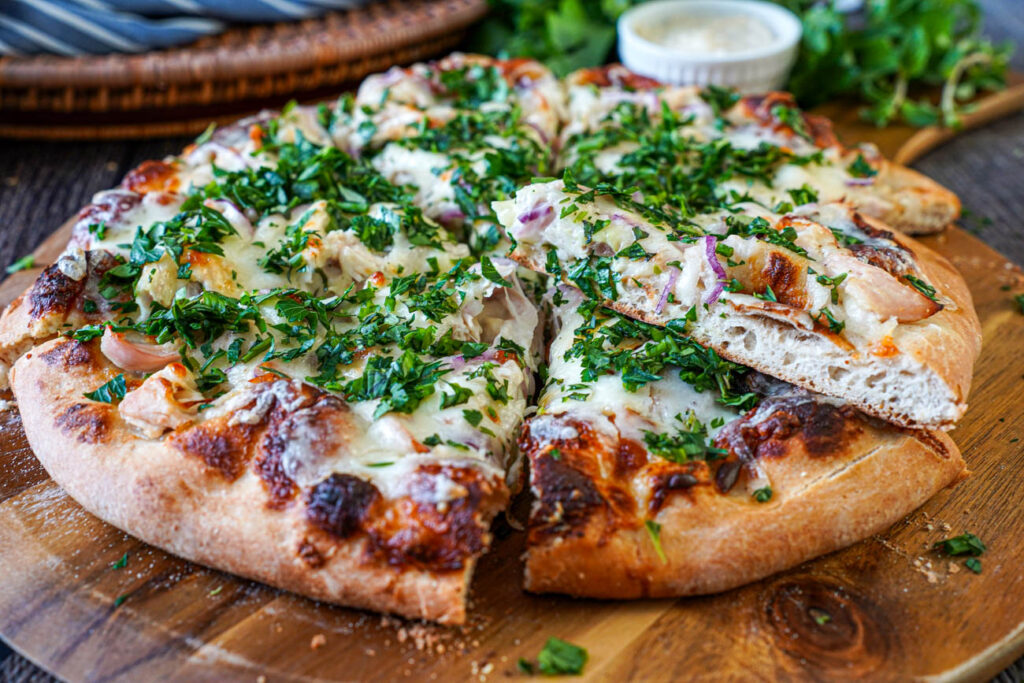
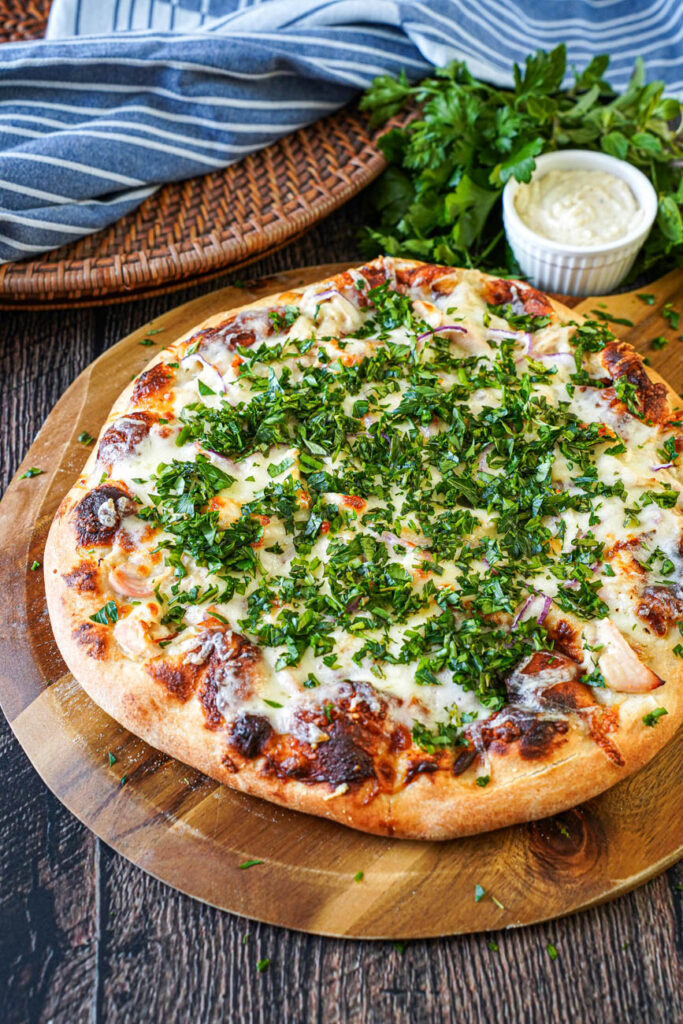
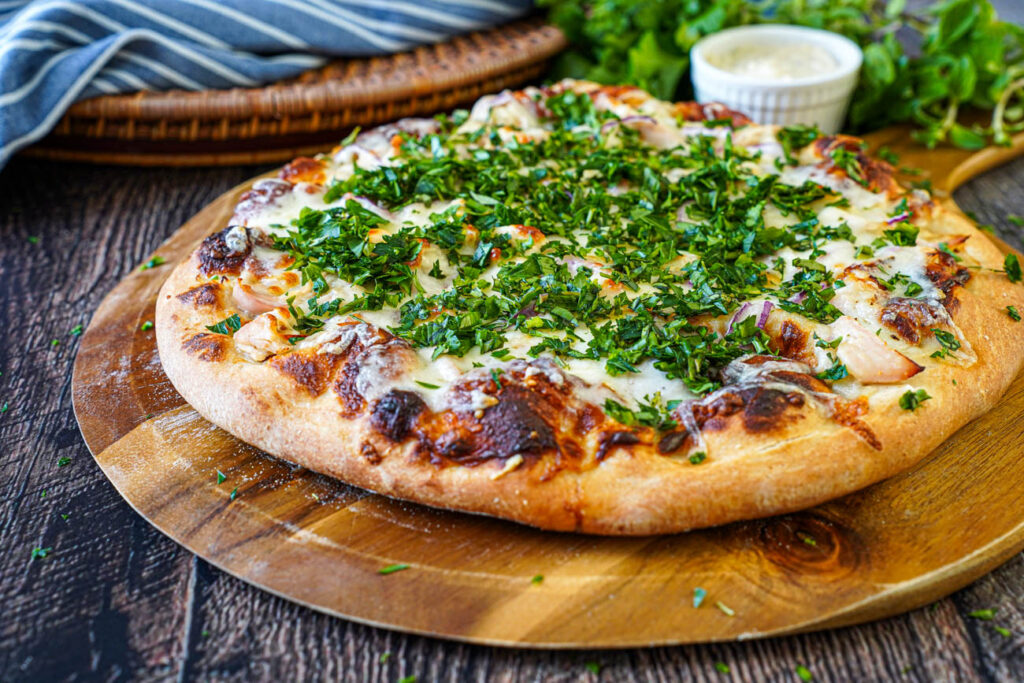
A recipe for Roasted Garlic Chicken Pizza! This homemade pizza is topped with a roasted garlic parmesan sauce, shredded chicken, red onions, cheese, and plenty of fresh herbs.
I first came across the inspiration for this Roasted Garlic Chicken Pizza over on Pink Parsley and it is such a fun use for fresh herbs.
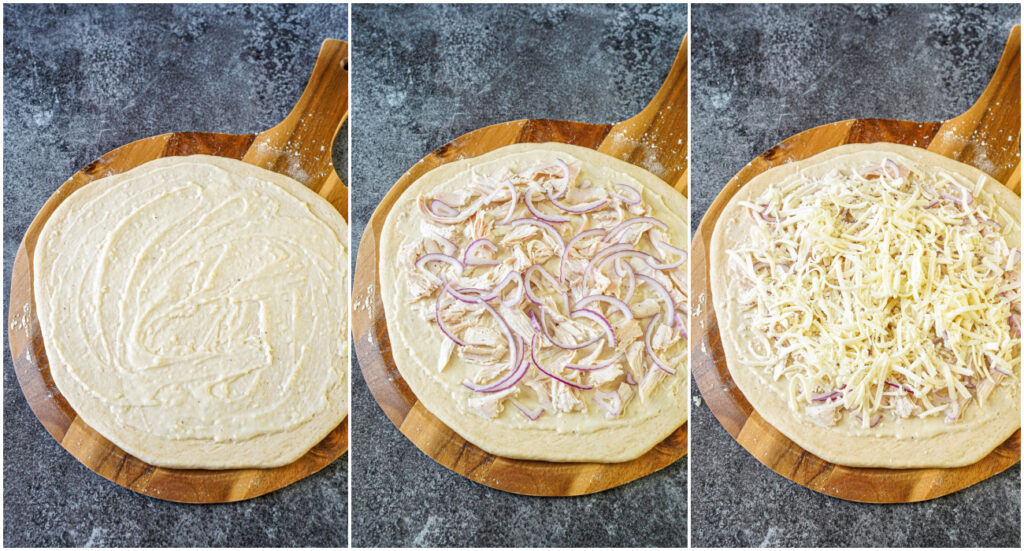
Start by topping a store-bought or homemade pizza dough with a thin layer of creamy, roasted garlic parmesan sauce. Cover the sauce with shredded chicken, red onion slices, and mozzarella cheese (plus more parmesan if desired).
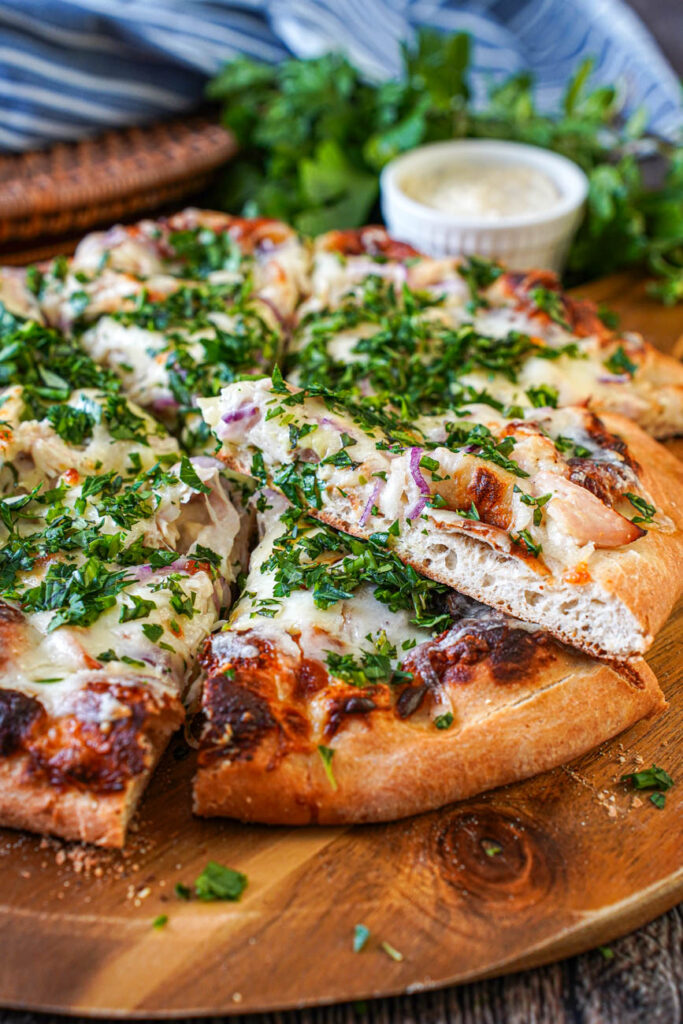
Bake in the oven until puffed and golden, then serve warm with a generous sprinkling of fresh herbs.
Roasted Garlic
For the Roasted Garlic, preheat the oven to 425°F (220°C). Place a piece of aluminum foil large enough to wrap around the garlic bulb on a baking sheet.
Cut off the top of a small garlic bulb about 1/4 of the way down to reveal the garlic cloves. Place on the aluminum foil and drizzle with olive oil, salt, and pepper. Wrap the foil around the bulb to seal. Bake for 45 minutes to one hour, until deeply golden and soft enough to squeeze out.
This step can easily be done a day or two ahead of time. Simply squeeze the roasted garlic into a small airtight container and refrigerate until needed.
Shredded Chicken
This recipe is also a great use of leftover shredded chicken or rotisserie chicken.
There are a few different ways to make the shredded chicken from poaching to baking or cooking on the stovetop.
This can also be done a day or two in advance. Store the cooked chicken in an airtight container in the refrigerator until needed. You can place the shredded chicken on the pizza straight from the refrigerator.
A Few More Roasted Garlic Chicken Pizza Tips
You can use your favorite homemade or store-bought pizza dough. I went with the same dough I made for my Loco Moco Pizza recipe. Bring to room temperature for about one hour before using.
I formed the dough into a circle about 14 inches (36 centimeters) in diameter. Stretch into a larger circle for a thinner crust or a smaller circle for a thicker crust. Make sure to use cornmeal to keep the dough from sticking to the peel.
If avoiding meat, simply omit the shredded chicken or swap for additional vegetables such as mushrooms (sautéed first to remove moisture), chopped tomatoes, or spinach (blanched and squeezed of moisture first).
If you want more meat, I sometimes like to add a handful of crispy bacon pieces.
Add more or less cheese as desired. Same goes for the other ingredients.
For these photos, I used a mixture of parsley, chives, and oregano. Basil, thyme, or other herbs would also work well. Discard any woody stems.
This Roasted Garlic Chicken Pizza is best warm from the oven. Leftover slices can be refrigerated in an airtight container for up to three days. Do not add the fresh herbs until immediately before serving.
Don’t discard the leftover roasted garlic sauce! I generally serve it on the side as a dipping sauce for the crust. I also enjoy it tossed with pasta and a little bit of the pasta water to coat.
Looking for more pizza recipes?
Try my:
This recipe was originally posted in September 2013 and updated in March 2026.
Roasted Garlic Chicken Pizza Recipe
Adapted from Pink Parsley
Roasted Garlic Chicken Pizza
Ingredients
- 2 tablespoons (28 grams) unsalted butter
- 1 small head roasted garlic see note below
- 2 tablespoons (15 grams) all-purpose flour
- 1 cup (240 milliliters) milk
- 1/4 teaspoon fine salt
- 1/4 teaspoon freshly ground black pepper
- 2 ounces (57 grams) Parmesan cheese freshly grated, plus more for topping
- 1 pound (450 grams) refrigerated pizza dough
- cornmeal for dusting
- olive oil for brushing
- 4 ounces (113 grams) cooked, shredded chicken breasts
- 1/2 small red onion peeled and thinly sliced
- 4 ounces (113 grams) low moisture Mozzarella cheese freshly shredded
- 1/4 cup (12 grams) finely chopped fresh herbs such as parsley, chives, oregano, and/or basil
Instructions
To make the roasted garlic sauce:
- Place the butter in a small saucepan and melt over medium low heat.
- Once melted, add the roasted garlic and stir, pressing the garlic to mash and blend into the butter.
- Once blended, add the flour and stir to fully combine. Continue stirring until lightly golden.
- Very slowly pour in the milk, whisking to combine, until smooth and starting to thicken.
- Season with salt and pepper, then remove from heat.
- Once no longer bubbling, whisk in the Parmesan cheese until smooth. Adjust seasonings to taste and set aside.
To assemble the Roasted Garlic Chicken Pizza:
- Remove the pizza dough from the refrigerator, cover, and bring to room temperature for one hour before using.
- Place a baking stone in the middle rack of the oven (if using) and preheat to 500˚F (260˚C).
- If using a baking stone, sprinkle cornmeal over a large pizza peel. Otherwise, sprinkle cornmeal over a large baking sheet.
- Form the pizza dough into a large circle, thin in the center with slightly thicker edges, about 14 inches (36 centimeters) in diameter.
- Spread a thin layer of the roasted garlic sauce over the dough, leaving about 1/2-1 inch (1.25-2.5 centimeters) of the edges clear. I like to save the leftover sauce for dipping the crusts.
- Evenly sprinkle the chicken and onions over the pizza.
- Cover with an even layer of Mozzarella and optionally a little more Parmesan.
- Brush the edges with olive oil.
- Carefully transfer the pizza (make sure it isn't sticking first) to the baking stone. Bake until the crust is golden and the cheese is bubbly, 8-12 minutes.
- Remove from the oven and allow to cool at room temperature about 5 minutes before topping with fresh herbs and slicing. Serve with the remaining garlic sauce.
Emily @ Life on Food
I made this for reveal day today. This pizza blew my mind away. So good. We will be making it many more times. Thanks for the great recipe!!
Tara
So glad you enjoyed it!
Heather
This recipe is so delish, I have made it with a thin layer of salsa Verde sauce ontop of the white sauce it was really good also!
Tara
Thank you Heather! Sounds so good with the salsa verde!